


WITH OUR CERASUN APPLICATION VIDEO, YOU GET FURTHER!
INSTALLATION AND MAINTENANCE CERASUN
Once you have selected the right product, it must be installed carefully and neatly to achieve a durable and beautiful paving surface. To simplify this, we have installation instructions available as video and text. Please take the following installation instructions into account.

PROCESSING IN STEPS
- FOR PROCESSING
Before laying the tiles, check the material for type, quantity, and quality. Any defects in the material must be reported in writing before the paving is laid.
- PREPARING OF THE SUBSTRATE
Excavate non-load-bearing soil layers until you reach a stable subsoil. The subsoil must be at least 35 cm below the paving and have a slope of at least 2.5% for proper drainage. Compact the subsoil with a suitable vibratory plate before applying the load-bearing and frost-protective layer.
- LOAD-BEARING AND FROST-PROTECTION LAYER
Apply a load-bearing and frost-protective layer and compact it in layers with gravel or chippings. Ensure there is also a slope of at least 2.5%. Place edging (e.g., curb stones) at the correct height and on a concrete foundation to prevent the stones from shifting. Try to work as much as possible according to the grid size (brick size + joints) to avoid cutting.
- THE BEDDING
The bedding consists of a 4-5 cm thick layer of an uncompacted mixture of gravel or sand. Apply it approximately 1 cm higher, as it will settle after compaction. Use tools such as a screed and two leveling boards to finish the bed level with a slope.
- INSTALLATION
After the bed has been laid, do not walk on it. Lay the tiles onto the paved surface from the top down and work row by row. Mix tiles from different packages and layers for a homogeneous color distribution. Ensure the tiles are fully supported to prevent them from tilting later. Use a rubber mallet and a piece of wood to bring the tiles to the correct height. The tiles must not be vibrated!
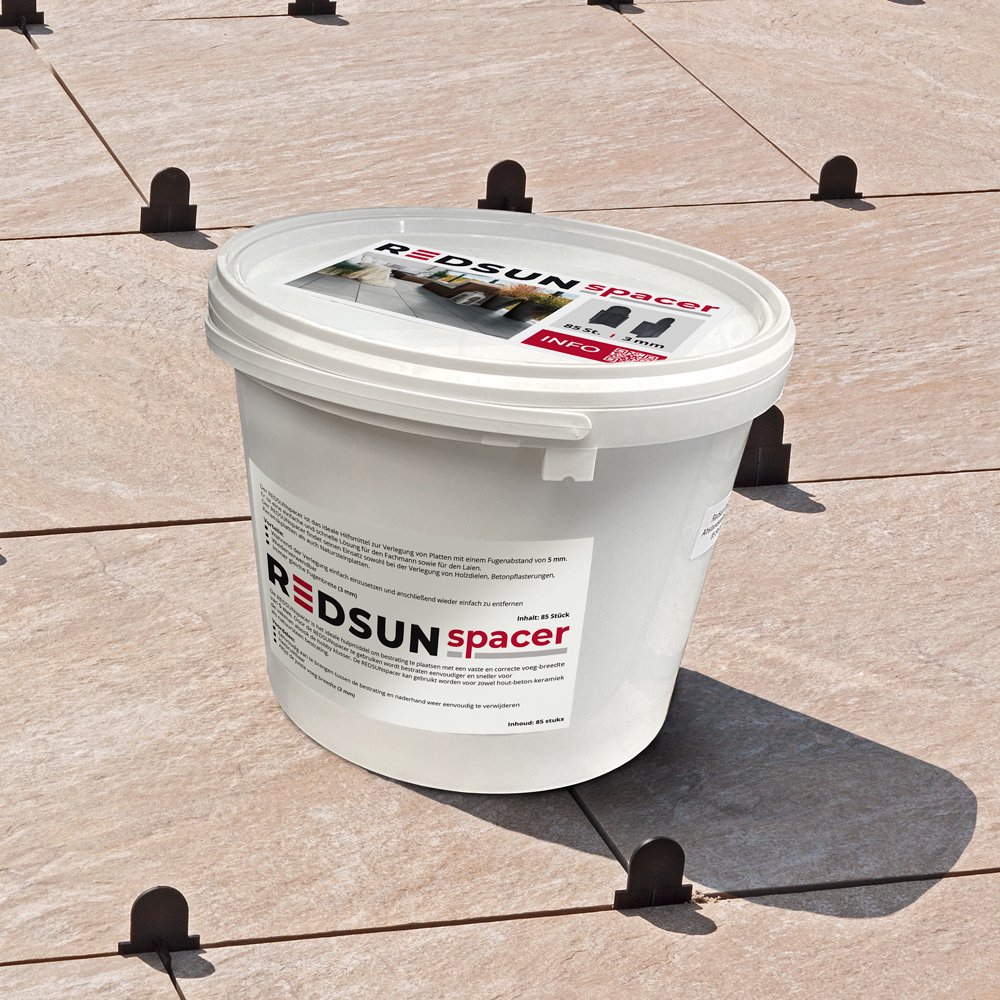
Maintain a joint width of approximately 5 mm (the spacers on the tiles are only for protection during transport). Use REDSUN Spacers for an even joint pattern. Use a guideline to ensure everything is laid straight. Continuously adjust the surface as you progress and avoid walking on or driving over the unlaid sections.
- GROOVING
The formed joints are completely filled with a suitable jointing material (e.g. jointing sand with a grain size of 0.02-2 mm). The jointing material must be continuously swept in as the tiles are laid. When finishing the grouting, the surface must be clean and free of residue. The tiles can also be firmly grouted with suitable one- or multi-component grout. In this case, the manufacturer’s processing instructions must be strictly followed, particularly regarding the substrate and joint formation. If necessary, expansion joints and movement joints must be installed at connections to structural elements or walls.
CLEANING & MAINTENANCE
CERASUN tiles are a popular choice for patios because they are robust and durable and offer a variety of designs and colors. Moreover, they combine the properties of ceramic and concrete.
However, to ensure that your CERASUN tiles look beautiful for a long time, it is important to maintain and clean them properly. Sweep the surface regularly to remove coarse dirt. The use of a high-pressure cleaner is not recommended, as the grout can be damaged by the high pressure.
For stubborn stains, a brush or sponge can be used. Stains such as red wine, mustard, or grease can be removed relatively easily with water. If necessary, special cleaning agents for ceramic tiles can be used. Consult a trusted professional for advice on this.
To avoid affecting the anti-slip properties, we advise against impregnating the tiles. Due to their properties, CERASUN tiles are already optimally protected against weather influences, so no additional impregnation is necessary.