


Learn from our step-by-step installation videos
Concrete Finishing
Once you have selected the right product, it must be applied carefully and accurately to achieve a durable and visually appealing paving surface.
To simplify this process, we provide installation instructions in both video and written format. Please follow the application guidelines below.


STEP-BY-STEP INSTALLATION OF PAVING AND TILES
CONCRETE TILES
- BEFORE INSTALLATION
Before laying the paving, check the material for type, quantity and quality. If any defects are identified, report them in writing before installation begins.
- SUBBASE PREPARATION
Excavate any non-load-bearing soil layers until a stable subgrade is reached. The subgrade must be at least 35 cm below the finished paving level and should have a minimum slope of 1.5% to ensure proper drainage. Compact the subgrade thoroughly using a suitable vibrating plate before applying the base and frost-protection layer.
- BASE AND FROST-PROTECTION LAYER
Apply a base and frost-protection layer and compact it in stages using gravel or crushed stone. Ensure a minimum slope of 1.5% is maintained. Install edge restraints (e.g. kerbstones) at the correct height on a concrete foundation to prevent movement of the paving units. Where possible, work according to the modular dimensions (tile size + joint width) to minimise cutting.
- BEDDING LAYER
The bedding layer consists of a 4–5 cm thick layer of uncompacted crushed stone or sand. Apply the bedding approximately 1 cm higher than the required level, as it will settle during compaction. Use tools such as a screed board and screed rails to level the bedding accurately while maintaining the required slope.
- INSTALLATION
Once the bedding layer has been prepared, do not walk on it. Lay the tiles from the paved area, working row by row. Mix tiles from different packs and layers to achieve a uniform colour distribution. Ensure full support of each tile to prevent future tilting. Use a rubber mallet and a wooden block to adjust the tiles to the correct height. Do not use a vibrating plate on the tiles. Maintain a joint width of approximately 2–4 mm.
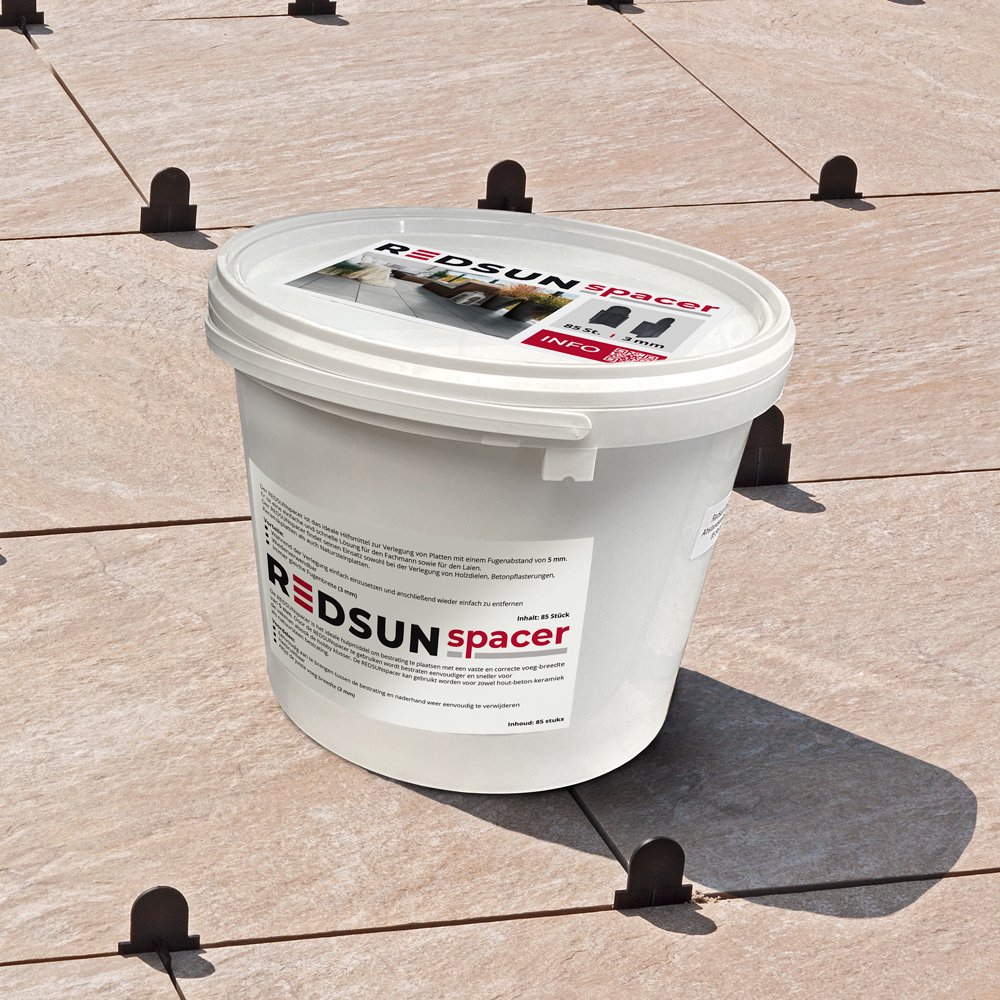
(The spacers on the tiles are intended for transport protection only.)
Use REDSUN spacers to achieve a consistent joint pattern.
Use a string line to ensure straight alignment.
Continuously adjust alignment as you progress and avoid walking or driving over areas that have not yet been completed.
- JOINTING
Fully fill the joints (2–4 mm wide) with suitable jointing material
(e.g. jointing sand with a grain size of 0.02–2 mm).
Continue adding jointing material as work progresses.
Ensure the surface is clean and free of residue once jointing is completed.
Alternatively, a one- or two-component jointing mortar may be used.
Always follow the manufacturer’s instructions carefully.
CONCRETE PAVING
- BEFORE INSTALLATION
Before laying the paving, check the material for type, batch, quantity and quality. If any defects are identified, report them in writing before installation begins.
- SUBBASE PREPARATION
Excavate non-load-bearing soil layers until a stable subgrade is reached. The subgrade must be at least 35 cm below the finished paving level and have a minimum slope of 1.5% to ensure proper drainage. Compact the subgrade thoroughly using a suitable vibrating plate before applying the base and frost-protection layer.
- BASE AND FROST-PROTECTION LAYER
Apply a base and frost-protection layer and compact it in layers using gravel or crushed stone. Ensure a minimum slope of 1.5% is maintained.
Install edge restraints (e.g. kerbs) at the correct height on a concrete foundation to prevent movement of the paving stones.
Where possible, work according to the modular dimensions (stone size + joint width) to minimise cutting.
- BEDDING LAYER
The bedding layer consists of a 4–5 cm thick layer of uncompacted crushed stone or sand. Apply the bedding approximately 1 cm higher than the required level, as it will settle during compaction. Use tools such as a screed board and screed rails to level the bedding accurately while maintaining the required slope.
- LAYING
Once the bedding layer has been prepared, do not walk on it.Lay the paving stones from the paved area, working row by row.
To achieve a uniform colour distribution, mix stones from different packs and layers. Maintain a joint width of approximately 4 mm. Use a string line to ensure straight alignment.
Continuously adjust the alignment as you progress and avoid walking or driving over areas that have not yet been completed.
- JOINTING
Fully fill the joints (approximately 4 mm wide) with suitable jointing material (e.g. jointing sand).
Continue adding jointing material as work progresses.
Ensure the paved surface is clean and free of residue once jointing is completed.
For permeable paving stones, use jointing chippings with a grain size of 1–3 mm (available in three colours).
- COMPACTION OF THE PAVING
Ensure the surface is dry and clean before compaction, as debris may damage the paving stones. Use a suitable vibrating plate equipped with a rubber mat. After compaction, refill the joints and sweep the surface clean. See page 21 for recommendations regarding the use of a vibrating plate.
CLEANING & MAINTENANCE
Although paving and tiles offer a simple and durable solution for creating terraces, garden paths or driveways, they are exposed to heavy use and various weather conditions. Over time, weeds may grow between the joints, algae and green deposits can develop, and leaves may accumulate on the surface. However, there are effective ways to ensure your paving continues to look well maintained.
As a first step, regularly sweep the surface to remove coarse dirt and debris. If this is not sufficient, proceed to the second step and use household remedies (e.g. a soda-water solution) or specialised cleaning products (for removing green deposits, etc.).
The use of a pressure washer is not recommended, as high pressure may roughen the surface of the stones, allowing more dirt to accumulate. In the case of impregnated stones, the protective treatment may also be damaged. Always consult a trusted professional for advice. Joints can be cleaned using a joint brush, a weed scraper or a weed burner. The use of chemical weed killers is not recommended, as these are often restricted for environmental reasons.
LIME EFFLORESCENCE
It is important to understand that concrete mainly consists of sand, gravel, water and cement. Cement itself is produced from clay and limestone.
Lime efflorescence on concrete paving stones occurs due to the natural components of the material and appears as white deposits on the surface. These marks may vary in size and shape.
Water – such as rain, condensation or dew – penetrates the pores of the concrete and partially dissolves the lime contained within. The solution migrates to the surface, the water evaporates, and a white lime residue remains.
Lime efflorescence does not constitute a structural problem and does not affect the strength or durability of the concrete product.
In some cases, efflorescence can be removed through cleaning using specialised, solvent-free and biodegradable cleaners. However, in many cases, lime efflorescence will gradually disappear over time due to weather exposure and regular use of the surface.
The risk of efflorescence can be reduced by ensuring proper drainage during installation, allowing rainwater to run off the paved surface quickly. In addition, concrete products should be installed in a timely manner after purchase.